

Tampa’s heat and humidity create near-ideal conditions for mold growth year-round. When water damage enters the picture, whether from a burst pipe, storm flooding, or an appliance failure, the risk goes from background to urgent. Mold can begin forming on wet materials within 48 to 72 hours, and trusted water damage restoration can help mitigate the damage quickly, especially given Tampa Bay’s high humidity.
The good news: most post-water-damage mold is preventable if you act quickly and follow the right steps. Here’s what that looks like in practice.
Why Tampa’s Climate Makes Mold Risk Worse After Water Damage
Mold needs three things to grow: a moisture source, a food source (like drywall, wood framing, or insulation), and the right temperature. Tampa delivers all three year-round.
Average relative humidity in Tampa runs above 70% for most of the year. After a water damage event, the outdoor humidity actively works against your drying efforts. Even after visible water is removed, ambient humidity keeps materials wet longer than they would be in a drier climate.
This is why household fans and dehumidifiers from a hardware store are not sufficient for post-water-damage drying in Tampa. The equipment simply doesn’t have the capacity to overcome both the moisture in your structure and the moisture in the surrounding air simultaneously.
Step 1: Start Drying Immediately
The single most effective thing you can do to prevent mold after water damage is to begin the drying process as fast as possible.
Call a certified restoration company the moment you discover water damage. We dispatch IICRC-certified technicians 24 hours a day. The faster the extraction and drying equipment is in place, the lower your mold risk. Call (813) 696-0500.
While you wait for the team to arrive:
- Shut off the water source if the damage is from a pipe or appliance
- Move furniture and valuables out of the wet area
- Do not run your HVAC system if sewage or contaminated water is involved, as it can spread spores through ductwork
- Open windows only if the outdoor humidity is significantly lower than the indoor. In Tampa, this is often not the case and can make things worse
Do not use a regular household vacuum to remove standing water. It creates an electrical hazard and does not extract water from porous surfaces.
Step 2: Get Professional Water Extraction
Mopping and toweling up surface water is not water extraction. The moisture that matters most for mold prevention is the water that has soaked into drywall, insulation, subfloor, and wood framing, none of which is visible on the surface.
Our water damage restoration process uses truck-mounted extraction equipment, industrial air movers, and commercial dehumidifiers to pull moisture out of materials at a depth and rate that surface cleanup cannot achieve. We also use thermal imaging cameras and moisture meters to map where water has traveled, including behind walls and under floors, where mold is most likely to develop undetected.
Step 3: Monitor Moisture Levels Daily Until Dry Standard Is Reached
The drying process is not complete when materials look or feel dry. It’s complete when moisture meter readings return to established dry-standard levels for each material type.
Our technicians return daily during the drying phase to record readings, adjust equipment placement, and confirm progress. If moisture is not dropping at the expected rate, we identify the cause and correct it before mold has the opportunity to establish.
This daily monitoring matters. A job where equipment is set and abandoned is a job where hidden moisture gets missed until mold shows up weeks later.
Step 4: Apply Antimicrobial Treatment to Affected Surfaces
After drying, our team treats affected surfaces with antimicrobial agents to inhibit mold growth on any residual organic material. This is a standard part of the mold remediation and post-water-damage process, not an optional add-on.
Antimicrobial treatment is particularly important in Tampa’s climate because of the ongoing humidity. Even a structure that is confirmed dry can be re-exposed to moisture through normal Tampa weather patterns, and treated surfaces are significantly more resistant to mold establishment than untreated ones.
Step 5: Address the Moisture Source Permanently
Mold will return if the source of moisture is not corrected. A pipe that leaks again in three months, a roof that lets water in with every rainstorm, or a condensate line that backs up seasonally will undo any remediation work done without fixing the underlying cause.
Our team identifies and documents the moisture source at every job, both for your insurance claim and to ensure the fix addresses the problem at the root.
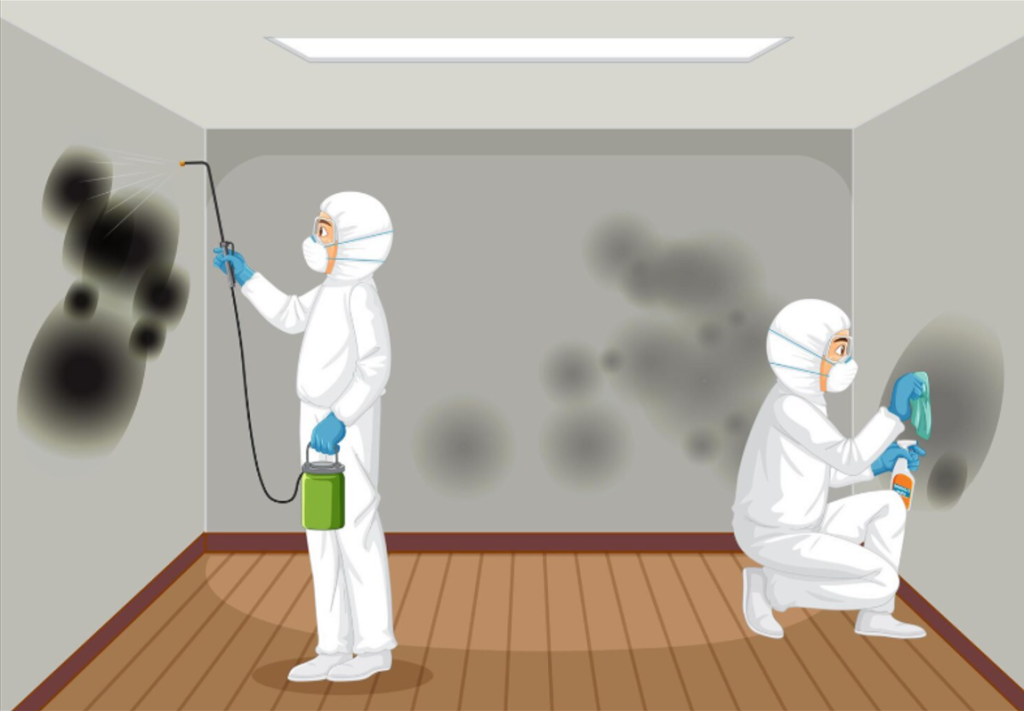
What If Mold Has Already Started?
If water damage was not addressed immediately, or if you’ve discovered mold behind walls, under flooring, or in a crawl space, remediation rather than prevention is the appropriate response.
Mold remediation follows the IICRC S520 standard. The process involves containment to prevent spore spread, HEPA air filtration, removal of affected materials, antimicrobial treatment, and post-remediation verification. Reconstruction of removed materials follows after clearance.
Do not disturb visible mold before a professional assesses it. Disturbing mold spreads spores to areas that were previously clean.
Call us at (813) 696-0500 if you see visible mold growth or smell a persistent musty odor after water damage.
Common Post-Water-Damage Mold Signs to Watch For
Even after a professional dryout, keep an eye on the following for 30 days after the job is completed:
- A musty or earthy smell in areas that were previously affected
- Discoloration on walls, ceilings, or baseboards in gray, green, black, or brown tones
- Soft or bubbling paint or wallpaper in previously wet areas
- Visible dark spotting in grout lines, around window frames, or along baseboards
Any of these warrants a professional assessment before they’re treated as cosmetic issues.
Related Topics: