


Case Study: Restaurant Water Damage Restoration Quick Turnaround
For a restaurant, every closed day costs money. Missed meals, lost staff hours, canceled reservations,…

DIY Water Damage Prevention Tips for Tampa Homeowners
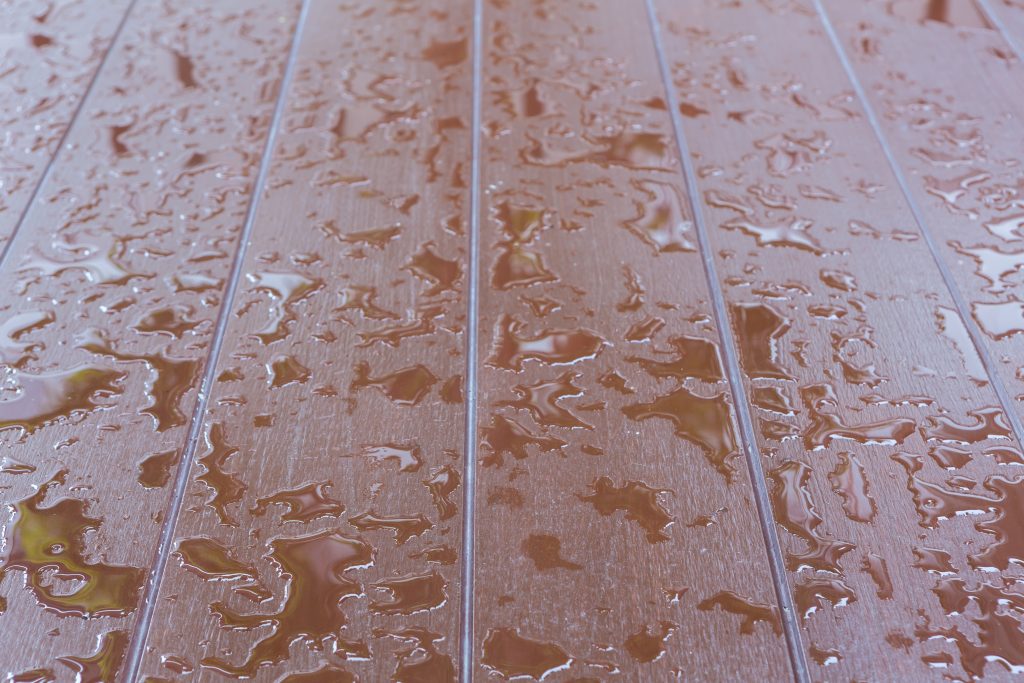
Most water damage does not start with a major disaster. It often starts with something…

Seasonal Storm Prep Guide for Tampa Homes
Tampa homes face a real storm risk every year, and most of the damage is…

How Tampa Insurance Works for Water Damage Claims
Filing a water damage claim in Tampa can be more complicated than homeowners expect. Insurance…

Does Insurance Cover Leaky Pipe Damage in Tampa?
When water starts spreading across the floor or dripping from the ceiling, most people wonder…
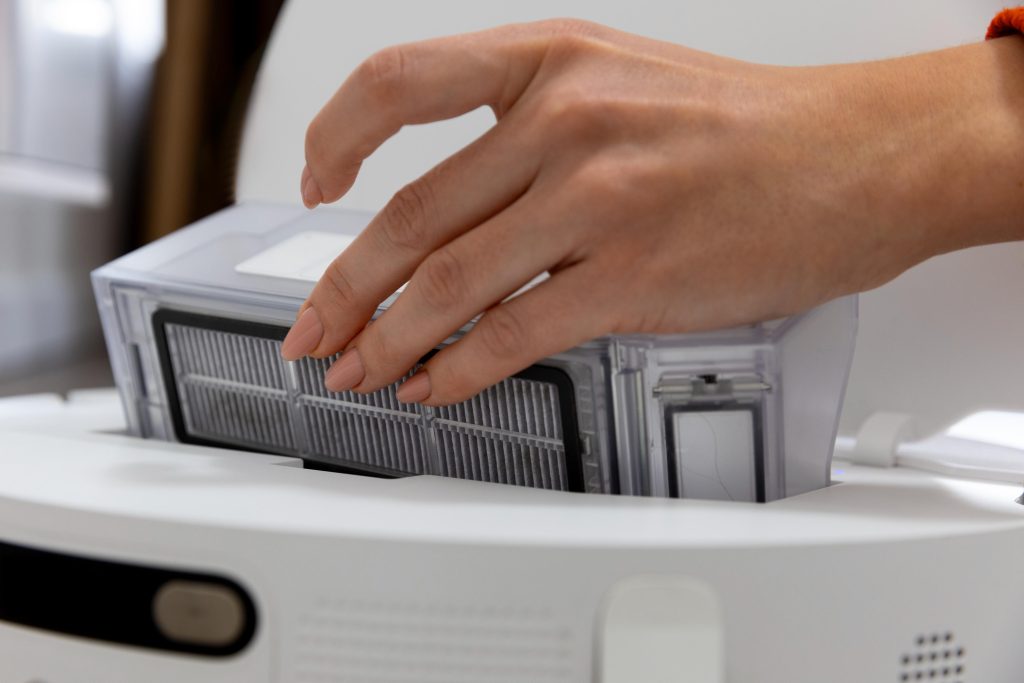
Water Damage Equipment Explained: Dryers, Dehumidifiers, and Moisture Meters
After a leak or flood, the equipment placed in your home can feel like a…